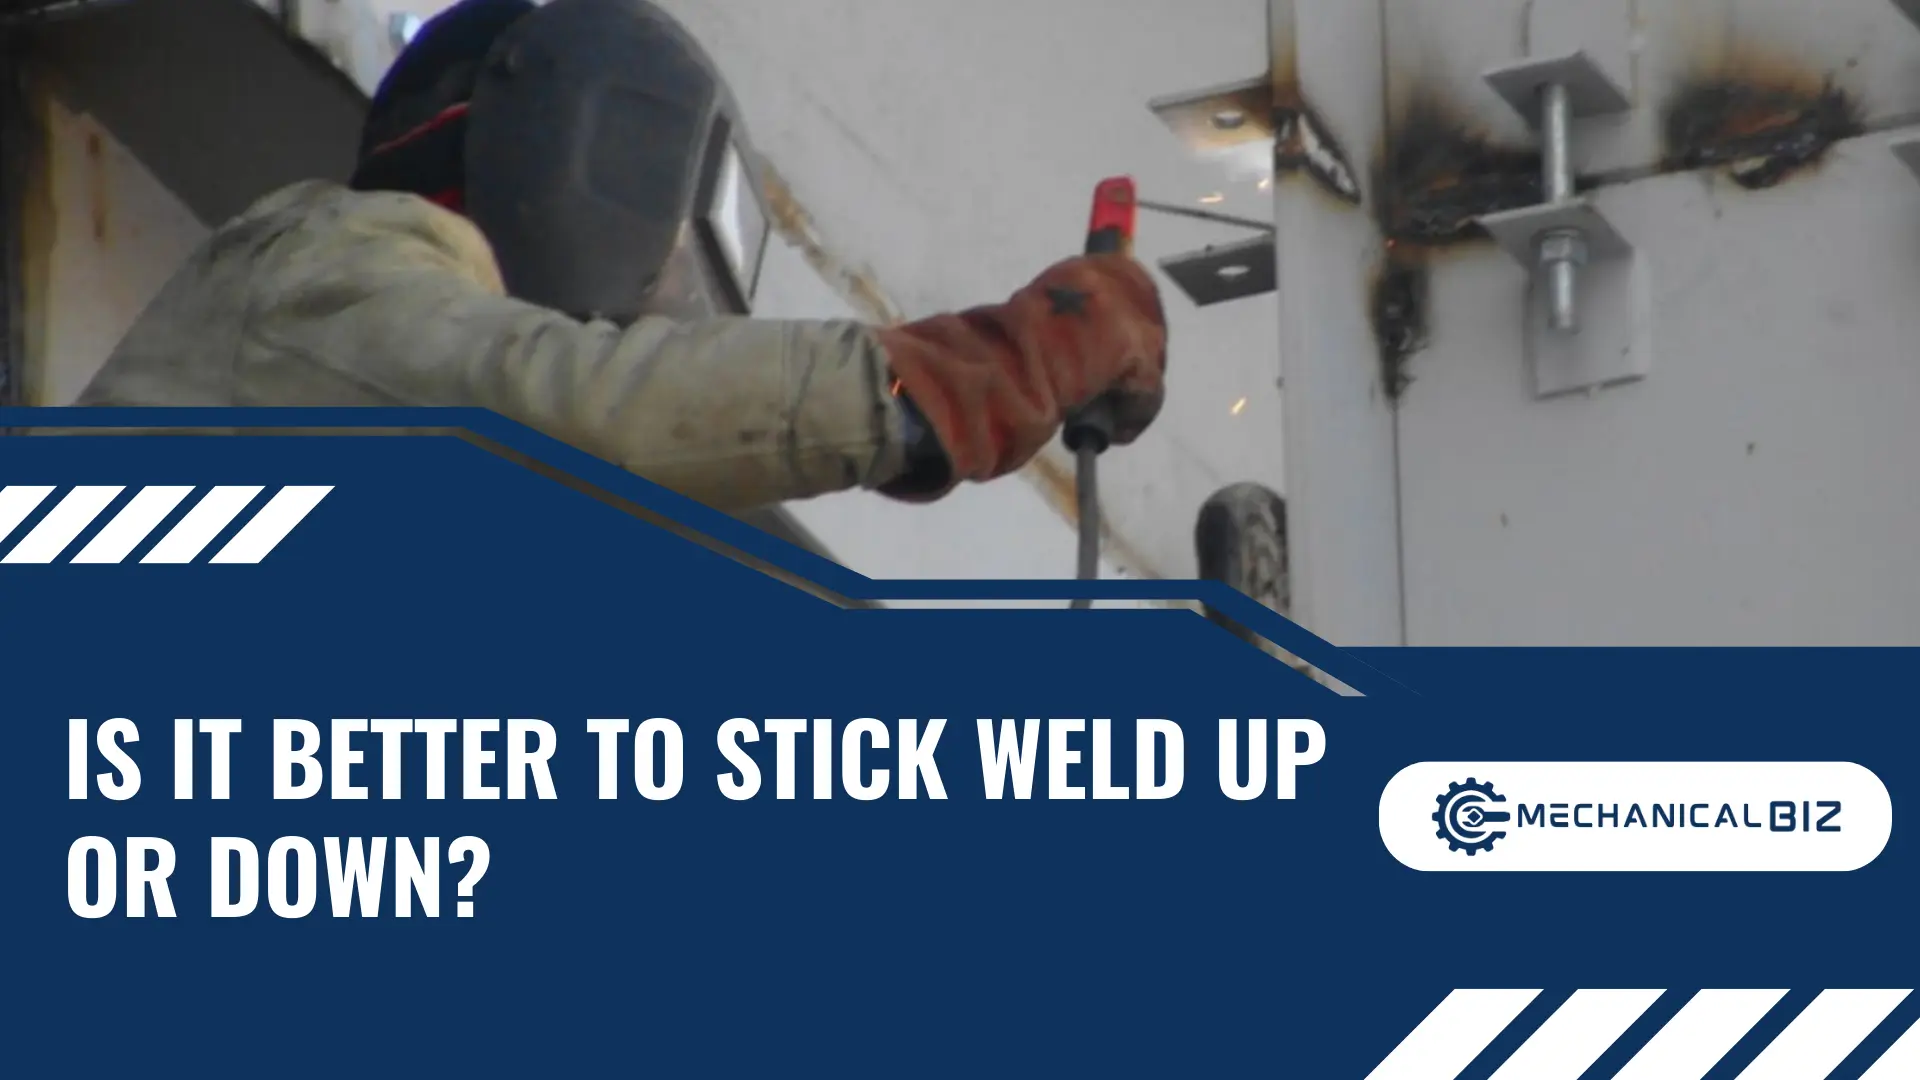
Is It Better to Stick Weld Up Or Down => In stick welding, it is generally better to weld up rather than down because vertical up welding provides better control of the puddle and penetration. It also reduces the risk of slag inclusions and allows for faster travel speed, making it more suitable for thin sections with MIG or TIG welding.
However, both techniques have their advantages depending on the thickness of the materials and the desired outcome of the weld.
Introduction To Stick Welding
Stick welding, also known as shielded metal arc welding (SMAW), is one of the most popular welding processes used by professionals and DIY enthusiasts alike. It involves creating an arc between a coated electrode and the metal being welded, forming a molten pool that cools and solidifies to create a strong bond. Stick welding is versatile and can be used on various types of metals, making it a go-to choice for welding applications in industries such as construction, automotive, and manufacturing.
Definition and Overview of Stick Welding
Stick welding is a manual welding process that utilizes a consumable electrode coated with flux to create a protective gas shield and produce a strong weld. The flux coating not only acts as a shield against atmospheric contaminants but also helps in incorporating alloying elements into the weld metal, enhancing its mechanical properties. This welding technique offers excellent penetration and can be used in all welding positions, including flat, horizontal, vertical, and overhead.
Importance of Proper Body Positioning and Technique
When it comes to stick welding, proper body positioning and technique play a crucial role in achieving optimal results. Let’s explore why:
- Enhanced Weld Control: Maintaining the correct body position and stance allows the welder to have better control over the welding arc and the molten puddle. This control ensures precise deposition of the electrode and helps produce a clean and uniform weld.
- Improved Weld Quality: By adopting the right body positioning and technique, welders can avoid excessive heat input, minimize distortion, and prevent weld defects such as undercutting, porosity, and incomplete fusion. This leads to higher weld quality and strength.
- Increased Safety: Proper body positioning not only enhances the welder’s control but also reduces the risk of accidents and injuries. It helps maintain a safe distance from the arc, protects against flash burns, and ensures better visibility of the welding zone.
Mastering the correct body positioning and technique in stick welding requires practice and experience. However, a few key tips can help you get started:
- Stability: Stand with your feet shoulder-width apart for a stable stance. Distribute your weight evenly and maintain a slight forward lean to maintain balance and control throughout the welding process.
- Hand Position: Position your non-dominant hand on the workpiece to support and stabilize it. Your dominant hand should grip the welding electrode holder firmly, allowing for precise control and maneuverability.
- Arm Movement: Keep your elbows close to your body and your welding hand steady, moving it smoothly and consistently. Avoid unnecessary shaking or jerking motions that can affect weld quality.
- Sight Lines: Maintain clear sight lines to the weld puddle and the joint. Adjust your body position and use appropriate personal protective equipment (PPE) to ensure optimal visibility.
By following these tips and continuously honing your technique, you can achieve better results in stick welding and produce high-quality welds with confidence.
Stick Welding Uphill: Techniques And Tips
Stick welding, also known as shielded metal arc welding, is a widely used welding technique that offers a range of advantages and flexibility. When it comes to stick welding, the direction in which you weld can have a significant impact on the weld quality. In this article, we will focus on stick welding uphill, exploring the techniques and tips to achieve better control and penetration for your welds.
Advantages and Disadvantages of Welding Uphill
Welding uphill, also known as vertical upwelding, has its own set of advantages and disadvantages. Understanding these can help you determine when and where to use this technique.
| Advantages | Disadvantages |
|---|---|
|
|
Tips for Achieving Better Control and Penetration
When stick welding uphill, there are several tips and techniques that can help you achieve better control and penetration for your welds. Consider the following:
- Choose the right electrode: Selecting the appropriate electrode, such as the 7018, can greatly impact the quality of your uphill weld. These electrodes are known for their superior control and penetration.
- Adjust your welding angle: Maintaining a slightly downward angle, around 5-15 degrees, can help ensure proper penetration and control.
- Control your travel speed: Keep a steady and consistent travel speed to prevent excessive heat buildup or lack of penetration. Experiment with different speeds to find the optimal one for your specific welding project.
- Create a tight arc gap: Maintaining a close arc gap, around 1/8 to 3/16 of an inch, can improve arc stability and prevent excessive heat transfer.
- Use the whip and pause technique: Incorporating the whip and pause technique can help control the puddle and prevent undercutting. This involves a short forward arc movement (whip) followed by a slight pause.
Common Mistakes to Avoid
While stick welding uphill, it’s crucial to be aware of common mistakes that can compromise the quality of your welds. Avoid the following:
- Racing the puddle: Welding too quickly and racing the puddle can result in inadequate penetration and weak welds. Take your time and maintain a steady pace.
- Over-welding: Applying excessive heat or welding beyond the necessary amount can lead to weld distortion and potential weakening of the joint.
- Slag inclusions: Proper electrode manipulation and control are vital to avoid creating slag inclusions or other discontinuities in your uphill welds. Be diligent in removing slag between passes.
- Inconsistent travel speed: Inconsistent travel speed can lead to uneven weld bead formation and lack of fusion. Focus on maintaining a steady and controlled speed throughout the entire weld.
By following these tips and avoiding common mistakes, you can enhance your stick welding uphill technique and achieve high-quality, strong welds with improved control and penetration.
Stick Welding Downhill: Techniques And Tips
When it comes to stick welding, one of the key decisions you’ll need to make is whether to weld uphill or downhill. In this section, we’ll focus on the techniques and tips for stick welding downhill. Welding downhill can offer several advantages, but it also comes with its own set of challenges. Let’s take a closer look at the advantages and disadvantages of welding downhill, as well as some tips for avoiding slag inclusions and maintaining quality welds. We’ll also discuss best practices for speed and heat input to ensure optimal results.
Advantages and Disadvantages of Welding Downhill
Welding downhill has its own set of advantages and disadvantages. Understanding these can help you make an informed decision based on your specific welding needs and requirements.
Advantages:
- Increased productivity: Downhill welding allows for a faster travel speed, making it ideal for thin sections and thinner-wall pipes. The higher travel speed increases productivity, as operators can run “hot and fast.”
- Better control of the puddle: Welding downhill gives you better control over the weld pool, allowing for improved penetration and bead appearance.
Disadvantages:
- Slag inclusions: Welding downhill can make it more challenging to avoid slag inclusions, especially with stick welding. Slag can get trapped in the weld, compromising its strength and quality.
- Reduced heat input: Welding downhill with a higher travel speed can result in reduced heat input. While this can be advantageous for thin sections, it can lead to insufficient penetration in thicker materials.
Tips for Avoiding Slag Inclusions and Maintaining Quality
Avoiding slag inclusions is crucial for quality welds when stick welding downhill. Here are some tips to help you minimize the risk:
- Proper electrode angle: Maintain a slight downward angle of 5-15 degrees to ensure the slag floats to the top of the weld pool and does not get trapped.
- Use shorter arc lengths: Keeping the arc length shorter reduces the chance of the slag being trapped in the puddle.
- Clean the work surface: Remove any contaminants, rust, or scale from the workpiece before welding to prevent slag inclusions.
- Inspect the weld bead: Regularly inspect the bead appearance for any signs of trapped slag. If necessary, chip away the slag and repair the weld.
Best Practices for Speed and Heat Input
When welding downhill, it’s essential to find the right balance of speed and heat input to achieve high-quality welds. Here are some best practices:
- Control travel speed: Maintain a consistent and controlled travel speed to ensure proper fusion and penetration.
- Monitor heat input: Use proper amperage settings to control heat input. Adjust the settings based on the thickness of the material being welded.
- Practice on scrap material: Before starting on the actual project, practice welding downhill on scrap material to fine-tune your technique and settings.
By following these tips and best practices, you can master the techniques of stick welding downhill and achieve high-quality welds with optimal speed and heat input. Remember to always prioritize safety and consult welding experts for any specific welding challenges you may encounter in your projects.
Comparing Vertical Up And Vertical Down Welds
When it comes to stick welding, one important consideration is whether to weld in a vertical up or vertical down position. Each technique has its own strengths and weaknesses, and understanding these differences is crucial to achieving the desired results.
In this section, we will compare vertical up and vertical down welds in terms of strength and quality, the impact of body positioning and puddle control, as well as the applications and situations where each technique is preferable.
Strength and quality differences between vertical up and vertical down welds
One key factor to consider when deciding between vertical up and vertical down welds is the strength and quality of the weld. While both techniques can produce strong welds, they differ in terms of their characteristics.
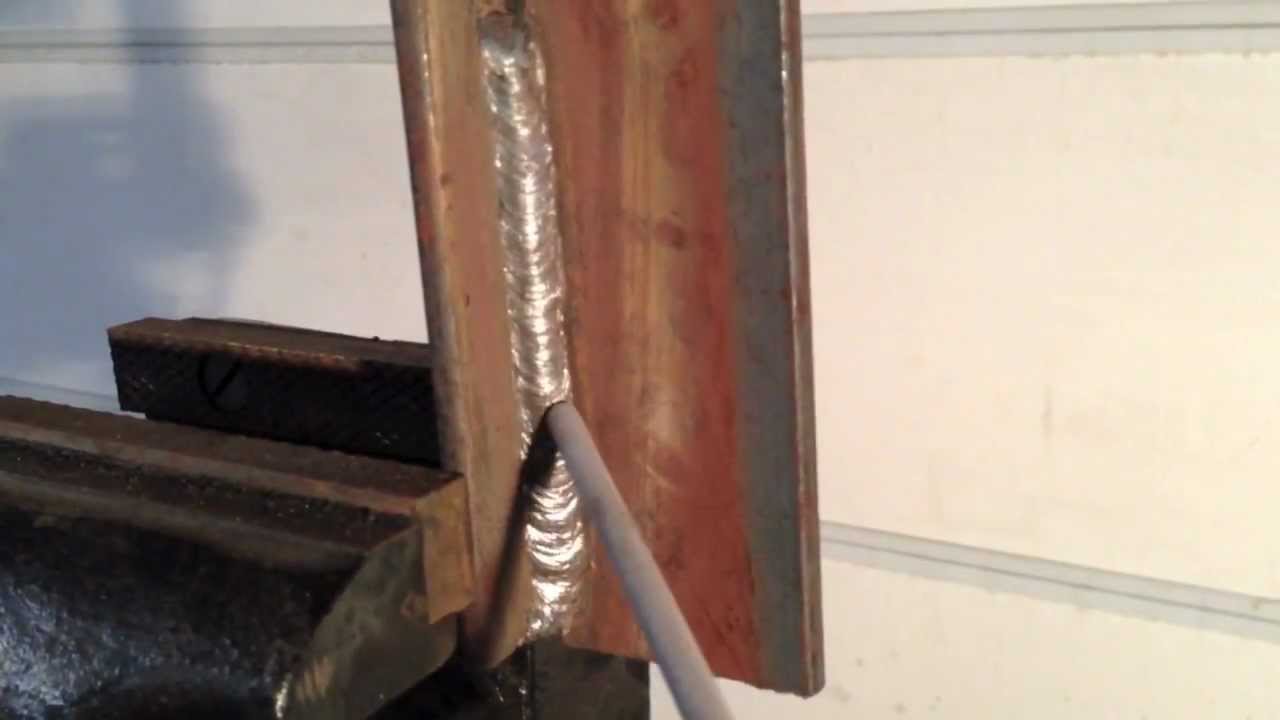
Vertical up welding tends to provide better control of the weld puddle and better penetration. The upward motion of the electrode helps to create a more focused and controlled heat input, which can result in a more consistent and reliable weld. This makes vertical up welding particularly suitable for applications where strength and durability are critical.
On the other hand, vertical down welding may offer advantages in certain situations. With vertical down welding, the electrode moves downward, which can lead to a faster travel speed. This can be beneficial when dealing with thinner sections, as it reduces the heat input and minimizes the risk of burn-through and distortion. However, it can also be more challenging to control the weld puddle and avoid slag inclusions, particularly with stick welding.
Understanding the impact of body positioning and puddle control
In addition to the direction of the weld, body positioning, and puddle control play a crucial role in achieving successful vertical up and vertical down welds. Proper body positioning allows for better visibility and control of the weld, ensuring consistent results.
When performing vertical up welding, it is important to maintain a comfortable and stable body position. This helps to ensure precise electrode travel and steady control of the weld puddle. By positioning your body in a way that allows a clear line of sight, you can closely monitor the molten puddle and make necessary adjustments as needed.
In contrast, vertical down welding requires a different approach to body positioning. Operators often adopt a slightly different stance to accommodate the downward motion of the electrode.
This can involve adjusting their body angle and positioning themselves to maintain stability while controlling the weld puddle. Proper body positioning facilitates smoother travel and helps to minimize the risk of defects in the weld.
Applications and situations where each technique is preferable
Both vertical up and down welding techniques have their own applications and are well-suited to specific situations. Understanding when to use each technique can make a significant difference in achieving optimal results.
Vertical up welding is typically more common, especially for thicker materials and larger weldments. It is ideal for situations where strong penetration and control are crucial. Additionally, vertical up welding is often preferred when working with materials that cannot be easily moved into a flat or horizontal position.
On the other hand, vertical down welding is advantageous in certain scenarios, especially when dealing with thinner sections or sheet metal. The higher travel speed of vertical down welding helps to minimize burn-through and distortion, making it a popular choice for sheet metal and thin-walled applications. However, it requires careful puddle control and proper technique to achieve consistent and high-quality welds.
Ultimately, the choice between vertical up and vertical down welding depends on the specific requirements of the project and the materials being welded. It is essential to consider factors such as strength, control, distortion, and travel speed when determining which technique is best suited for the job at hand.
Factors To Consider When Choosing Welding Technique
When it comes to stick welding, determining whether to weld up or weld down can have a significant impact on the final weld quality and appearance. To make an informed decision, there are several factors to consider. These factors include the thickness and type of material being welded, welding position requirements and constraints, and the desired weld appearance and quality.
Thickness and type of material being welded
The thickness and type of material being welded play a crucial role in determining the appropriate welding technique. Generally, welding uphill (vertical up) is recommended for thicker materials, while welding downhill (vertical down) is commonly used for thinner materials. Welding uphill provides better control of the weld puddle, ensuring better penetration. On the other hand, welding downhill allows for higher travel speed and reduces heat input, making it advantageous for thinner materials to minimize burn-through and distortion.
Welding position requirements and constraints
The welding position requirements and constraints also play a significant role in choosing the appropriate welding technique. Depending on the project specifications, the weld may need to be performed in a vertical, horizontal, or overhead position. If the welding position is vertical, both vertical up and vertical down techniques can be considered. However, if the position is horizontal or overhead, welding downhill might be more challenging and less suitable due to the increased risk of slag inclusions and reduced control over the weld puddle.
Desired weld appearance and quality
The desired weld appearance and quality are essential factors to consider when choosing a welding technique. Depending on the project requirements, the weld may need to have a specific appearance and meet certain quality standards. Vertical up welding may be preferred for its cleaner appearance and better control over the weld puddle. However, vertical down welding can be advantageous for achieving higher travel speeds and reducing heat input, which can be beneficial in certain applications.
Ultimately, the decision of whether to stick weld up or down depends on a combination of these factors. It is crucial to carefully assess the thickness and type of material, welding position requirements, and desired weld appearance and quality before making a choice. By considering these factors, welders can ensure that they select the most appropriate welding technique for their specific project, ultimately achieving optimal weld results.
Best Practices For Stick Welding
Importance of proper weld technique and safety precautions
Proper weld technique is essential for achieving high-quality stick welds. It not only ensures stronger welds but also improves overall safety during the welding process. When performing stick welding, it is crucial to follow these important tips to achieve the best results:
- Ensure proper body positioning: Body positioning plays a significant role in stick welding. Maintaining a steady and comfortable position allows for better control and accuracy while welding. It is essential to position your body in a way that provides clear visibility of the weld joint.
- Pay attention to sight lines: Clear sight lines are crucial for precise welds. Make sure to position yourself in a way that offers the best view of the weld joint. This will help you monitor the welding process and make adjustments as necessary.
- Take safety precautions: Welding can be a hazardous process if proper safety precautions are not followed. Always wear appropriate personal protective equipment (PPE), such as a welding helmet, gloves, and clothing. Additionally, ensure proper ventilation in the welding area and take precautions to prevent welding fumes from entering your respiratory system.
Tips for improving stick welding skills and efficiency
To improve your stick welding skills and enhance efficiency, try implementing these helpful tips:
- Choose the right electrode: Selecting the correct electrode for your specific materials and welding application is essential. Different electrodes have varying properties and are designed for specific purposes. Make sure to choose an electrode that matches your welding needs.
- Control the arc length: Maintaining a proper arc length is crucial for achieving good welds. Too short or too long of an arc length can result in poor penetration and weld quality. Practice controlling the arc length to achieve consistent and high-quality welds.
- Manage travel speed: The speed at which you move the electrode along the weld joint can impact the quality of the weld. Experiment with different travel speeds to find the optimal speed that produces the desired results.
- Clean and prepare the weld joint: Properly cleaning and preparing the weld joint before welding is essential. Ensure that the surface is free from rust, paint, oil, and other contaminants that may affect the quality of the weld. Use wire brushes or grinding tools to clean the joint thoroughly.
Resources and further learning opportunities for stick welding
To further enhance your stick welding skills, consider exploring the following resources and learning opportunities:
| YouTube Channels: |
|
| Books: |
|
| Online Courses: |
|
By exploring these resources and utilizing the knowledge gained, you can continue to improve your stick welding skills and stay up to date with the latest industry techniques and best practices.
Credit: m.youtube.com
Frequently Asked Questions For Is It Better To Stick Weld Up Or Down?
What Is The Best Position For Stick Welding?
The best position for stick welding depends on the desired outcome. Vertical up welding offers better control and penetration, while vertical down welding allows for higher productivity on thinner-wall pipes. However, most welders prefer to stick welding uphill for better results.
Is A Vertical Up Weld Stronger Than A Vertical Down?
Welding in a vertical up position tends to offer better control and penetration. However, vertical down can be advantageous for thin sections with MIG or TIG welding to reduce heat input. It ultimately depends on the material being welded and the desired outcome.
Why Do Pipeliners Weld Downhill?
Pipeliners weld downhill on thinner-wall pipes to increase productivity by running “hot and fast” compared to uphill welding, which is required on thicker wall pipes for complete penetration. Downhill welding allows for higher travel speed and reduces heat input, making it advantageous for sheet metal to minimize burn-through and distortion.
What Are The Advantages Of Making Vertical Down Welds?
The advantages of making vertical down welds include higher travel speed, minimizing burn-through and distortion for sheet metal, and lower weld’s heat input. Stick welding uphill is also preferred for better control of the puddle and penetration.
Faq 1: Is Stick Welding Better Done In The Up Position Or The Down Position?
Stick welding can be done in both the up and down positions, each with its own advantages and considerations.
Conclusion
To determine whether it’s better to stick weld up or down, it’s crucial to consider factors such as control, penetration, and the type of material being welded. While vertical up welding allows for better control of the weld puddle and penetration, vertical down welding can be advantageous for thin sections, as it reduces heat input.
Ultimately, there is no straightforward answer to this question, as it depends on the specific welding requirements. Consulting with a professional welder can help you make the best decision for your project.