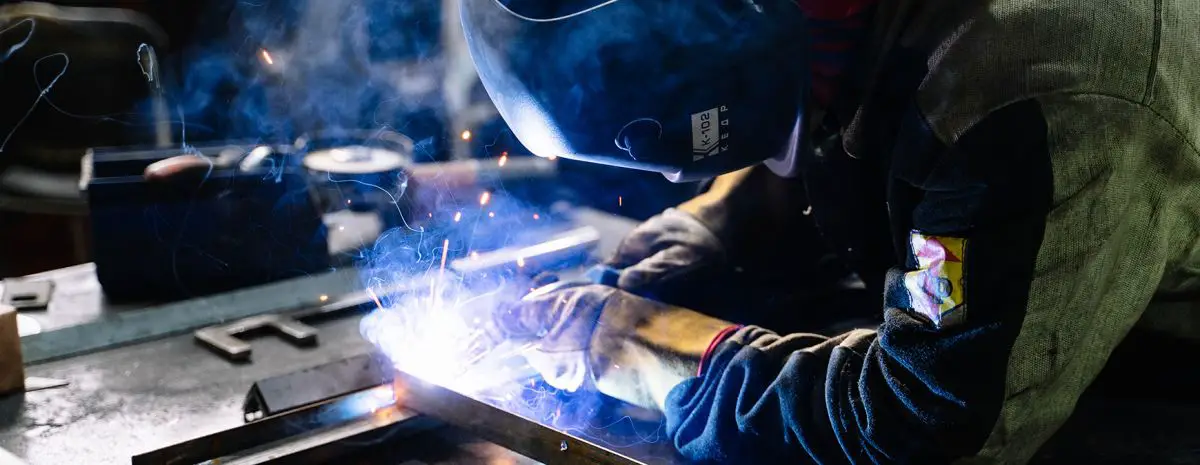
The flat welding position is the easiest position to weld due to its lack of vertical or overhead movement. In this position, the welder can work with gravity, making the welding process more manageable and comfortable.
Beginners often start with flat welding as it is the common type of weld and allows for consistent and smooth welds. This position is suitable for maneuvering the electrode easily, requiring less skill and effort compared to vertical, overhead, or other more complex welding positions.
Whether you are a beginner or an experienced welder, mastering the flat welding position is essential for building a strong foundation in welding techniques.
Understanding Welding Positions
Definition and importance of welding positions
In the world of welding, understanding welding positions is crucial. Welding positions refer to the various angles and orientations at which welding can be performed. Each position comes with its challenges and requires different techniques to ensure a strong and durable weld. It is important to comprehend welding positions as they determine the quality and efficiency of the welding process.
Different welding positions
There are several commonly used welding positions, and each one has its advantages and difficulties. Let’s take a closer look:
Flat position
The flat position, also known as the downhand position, is considered the easiest of all the welding positions. In this position, the weld is performed on a horizontal surface, with the welding joint facing upwards. Gravity doesn’t play a significant role, making it relatively straightforward to control the molten metal and create a solid weld.
Horizontal position
The horizontal position presents its own set of challenges. The welding joint is placed horizontally, and the welder needs to maintain proper control to prevent the molten metal from sagging or falling. While it may require a bit more skill and practice compared to the flat position, it is still considered relatively easy to weld in this position.
Vertical position
Welding in the vertical position is a bit more challenging. In this position, the welding joint is oriented vertically, requiring the welder to control the flow of molten metal against the force of gravity. Proper technique and positioning are crucial to create a strong weld that penetrates all layers of the joint.
Overhead position
The overhead position is widely regarded as the most difficult welding position. Welding is performed with the two pieces of metal above the welder, necessitating careful angling and maneuvering to access the joints. Welding in this position requires advanced skills and experience, as maintaining control and producing high-quality welds can be extremely challenging.
Understanding the different welding positions is essential for welders of all skill levels. As you gain experience and confidence in each position, you’ll be able to tackle more complex welding projects with ease. Remember, practice and patience are key to mastering welding positions and becoming a proficient welder.
The Easiest Position To Weld – Flat Position
Explanation of the flat position
The flat position, also known as the downhand position, is the easiest position to weld. It is referred to as the flat position because the welding is performed on a horizontal surface, with the weld joint facing upward. In this position, gravity does not work against the welder, making it easier to control the molten metal and create a successful weld.
Advantages of welding in the flat position
There are several advantages to welding in the flat position:
- Easy accessibility: Welding in the flat position allows for easy accessibility to the weld joint. The welder can have a better view of the joint, making it easier to manipulate the electrode or filler wire.
- Less distortion: Welding in the flat position minimizes distortion because the heat is evenly distributed on a horizontal plane. This results in a more structurally sound weld.
- Better penetration: In the flat position, gravity helps in achieving better penetration. The molten metal flows downward and penetrates the base metal more effectively.
- Controlled weld pool: Since the weld pool is not affected by gravity, it is easier for the welder to control the size and shape of the pool, resulting in a higher-quality weld.
Techniques and tips for welding in the flat position
Here are some techniques and tips to ensure successful welding in the flat position:
- Electrode angle: Maintain a slight forward or backward angle while holding the electrode. This angle helps in achieving good penetration and controlling the weld pool.
- Travel speed: Control the travel speed to ensure proper fusion between the base metal and filler metal. It is important to maintain a steady and consistent speed to avoid over or underfilling the joint.
- Wire or electrode placement: Position the wire or electrode slightly behind the leading edge of the weld pool. This ensures that the weld is deposited ahead of the arc and provides better arc stability.
- Proper pre-weld cleaning: Clean the base metal thoroughly before welding to remove any dirt, rust, or contaminants. This helps in achieving a clean and strong weld.
By following these techniques and tips, welders can ensure efficient and successful welding in the flat position. The flat position is not only the easiest position to weld but also an essential skill for beginners to master before moving on to more complex positions.
Overhead Position – The Most Difficult Welding Position
Explanation of the overhead position
When it comes to welding, the overhead position is known to be the most difficult welding position. In this position, the welder has to perform welding with the two pieces of metal above them, requiring them to angle themselves and the equipment to reach the joints. This can make the process quite challenging and requires special skills and techniques.
Challenges of welding in the overhead position
Welding in the overhead position presents several challenges that make it more difficult than other welding positions. Some of the key challenges include:
- Gravity: In the overhead position, the weld pool tends to sag due to the influence of gravity. This means the welder needs to control the molten metal more carefully to prevent it from dripping or sagging.
- Restricted access: Working overhead means limited access to the joint, making it harder to reach and manipulate the welding electrode or torch.
- Fatigue: Welding in the overhead position can be physically demanding, requiring the welder to hold and maneuver the welding equipment for extended periods.
- Poor visibility: The overhead position can obstruct the welder’s line of sight, making it difficult to see the joint clearly and accurately control the welding process.
Techniques and tips for welding in the overhead position
Despite its challenges, some techniques and tips can help welders successfully weld in the overhead position. Some of these include:
- Proper body positioning: Maintaining a stable body position is crucial when welding overhead. The welders should position themselves in a way that minimizes strain and allows for better control of the welding equipment.
- Use of appropriate welding technique: Different welding processes may be more suitable for overhead welding, such as flux-cored arc welding (FCAW) or shielded metal arc welding (SMAW). It is important to choose the right technique that provides better control and stability in the overhead position.
- Reducing amperage: Lowering the amperage can help control the amount of molten metal and reduce the risk of sagging or dripping. It is important to find the right balance between heat input and control.
- Proper joint preparation: Ensuring the joint is clean and properly prepared can make a significant difference in the quality of the weld. It is important to remove any dirt, rust, or contaminants to achieve a strong and clean weld.
- Use of support bars or fixtures: Using support bars or fixtures can help provide additional support to the workpiece, reducing the strain on the welder and allowing for better control and access to the joint.
By implementing these techniques and tips, welders can improve their skills and successfully tackle the challenges of welding in the overhead position. Practice and experience with the right techniques are key to mastering this difficult welding position.
Vertical Position – The Intermediate Welding Position
The vertical position is considered an intermediate welding position due to its moderate difficulty level compared to other positions. It requires welding on vertical surfaces, such as walls or upright structures. This position is commonly used in construction and fabrication industries.
Explanation of the vertical position
In the vertical welding position, the weld beads are applied from bottom to top, against gravity. The weld is done vertically, with the welding electrode held perpendicular to the joint. This position requires a good control of the molten metal and the ability to maintain a consistent weld pool shape.
Challenges and considerations for welding in the vertical position
Welding in the vertical position presents various challenges and requires specific considerations to ensure successful welds. Some of the challenges include:
- The risk of weld metal sagging and falling due to gravity
- Difficulty in maintaining a proper weld pool shape
- Potential for lack of fusion or penetration if not properly controlled
- Increased heat input, leading to potential distortion of the base material
To overcome these challenges, certain factors need to be considered:
- Choosing the right welding technique and electrode angle for better control
- Adjusting welding parameters to ensure proper heat input
- Securing workpieces in position to minimize the risk of falling
- Using adequate support and fixturing to prevent distortion
Techniques and tips for welding in the vertical position
Here are some techniques and tips to achieve successful welds in the vertical position:
- Maintain a short arc length to prevent excessive heat buildup
- Use a zigzag or weave technique to ensure sufficient fusion and penetration
- Control travel speed and weld pool size for consistent and uniform welds
- Keep the electrode angle perpendicular to the joint for proper molten metal deposition
- Regularly clean and remove slag from the weld to prevent defects
By following these techniques and tips, welders can overcome the challenges of welding in the vertical position and achieve quality welds.
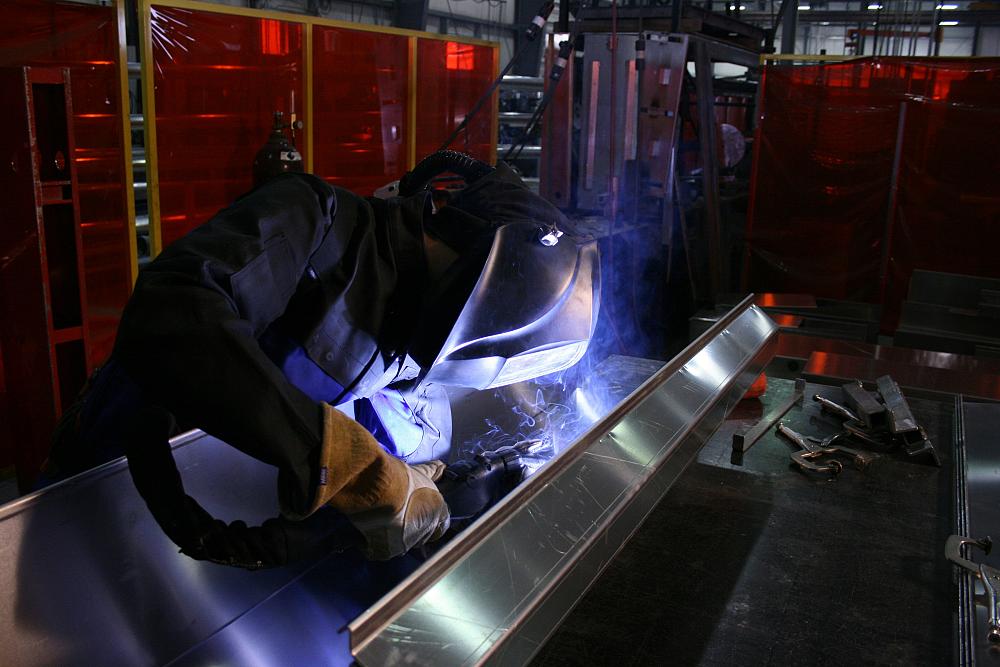
Horizontal Position – Common Position For Structural Welding
Explanation of the Horizontal Position
The horizontal position is the most common position for structural welding. In this position, the welding is performed horizontally on the weld joint, with the workpiece lying flat or slightly inclined. The welder moves the torch or electrode horizontally along the joint to create a strong and reliable weld.
Advantages and Challenges of Welding in the Horizontal Position
Welding in the horizontal position offers several advantages. Firstly, it is considered one of the easiest positions to weld, making it suitable for beginners. Additionally, the horizontal position allows for better control of the molten metal and weld pool, resulting in improved weld quality.
However, there are also some challenges to consider when welding in the horizontal position. One challenge is the potential for distortion due to the gravitational pull on the molten metal. Another challenge is the increased risk of weld defects, such as undercutting or lack of fusion, if proper welding techniques are not followed.
Despite these challenges, with the right techniques and precautions, welding in the horizontal position can be mastered effectively.
Techniques and Tips for Welding in the Horizontal Position
When welding in the horizontal position, it is important to follow certain techniques and tips to ensure a successful weld:
- Use an appropriate welding technique, such as the drag technique, where the torch or electrode is dragged along the joint.
- Ensure proper manipulation of the torch or electrode to maintain a consistent travel speed and avoid excessive heat input.
- Control the size and shape of the weld pool to prevent excessive fusion or lack of fusion.
- Pay attention to the position and angle of the torch or electrode to ensure proper penetration and weld strength.
- Consider preheating the workpiece if necessary to minimize distortion and improve weld quality.
- Use suitable filler metals and welding parameters to match the base metal and achieve optimal weld characteristics.
- Inspect the welds carefully to identify and rectify any defects or imperfections.
Credit: www.canadianmetalworking.com
Fillet Welding – Versatile And Easy To Learn
Fillet Welding – Versatile and Easy to Learn
Explanation of fillet welding
Fillet welding is a popular and versatile welding technique that is used to join two pieces of metal along their edges, forming a 90-degree angle. This welding method gets its name from the type of weld it creates, which is a triangular fillet shape. Fillet welding is considered one of the easiest welding positions to learn due to its simplicity and minimal equipment and skill requirements.
Advantages and applications of fillet welding
Fillet welding offers several advantages that make it an attractive option for both beginners and experienced welders. Firstly, fillet welding can be performed in different welding positions, such as flat, horizontal, vertical, and overhead, making it suitable for various applications. This versatility allows welders to use fillet welding in a wide range of projects, including construction, automotive, and general fabrication.
Fillet welding is also known for its strength and durability. When performed correctly, fillet welds can provide a high-strength bond between the two metal pieces, ensuring the structural integrity of the joint. Additionally, fillet welding requires less material compared to other welding techniques, resulting in cost savings and reduced overall weight of the welded structure.
Techniques and tips for fillet welding
Mastering fillet welding requires some practice and attention to detail. Here are some techniques and tips that can help you achieve high-quality fillet welds:
- Prepare the metal surfaces: Properly clean and prepare the metal surfaces before welding to ensure optimal weld penetration and adhesion. Remove any dirt, rust, or paint using a wire brush or grinding tool.
- Choose the right electrode: Select an electrode suitable for the base metal and welding position. Different electrodes have varying compositions and characteristics, so choose the one that best suits your specific welding requirements.
- Set the correct welding parameters: Adjust the welding machine settings, such as amperage and wire speed, according to the thickness of the metal and the joint configuration. This will help achieve proper fusion and penetration without overheating or underheating the weld.
- Maintain a steady hand: Keep a stable and steady hand while performing the weld to ensure smooth and even deposition of the filler material. Avoid excessive weaving or oscillation, as it can lead to uneven bead formation.
- Control the heat input: Properly controlling the heat input is crucial in fillet welding. Overheating the metal can result in distortion, while insufficient heat may lead to incomplete fusion. Maintain a consistent travel speed and adjust the distance between the electrode and the workpiece as needed.
- Inspect and clean the weld: After completing the fillet weld, visually inspect the joint for any defects or irregularities. Remove any slag or spatter using a wire brush or chipping hammer to ensure a clean and smooth surface.
By mastering the techniques and following these tips, you can achieve strong and aesthetically pleasing fillet welds that meet the required specifications and standards.
Frequently Asked Questions For What Is The Easiest Position To Weld?
What Is The Hardest Position In Welding?
The hardest position in welding is the overhead position. It involves welding with two pieces of metal above the welder, requiring the welder to angle themselves and their equipment to reach the joints.
What Is The Easiest Welding For Beginners?
MIG welding is the easiest type of welding for beginners. It uses a feed wire that runs through the machine, making the process fast and producing consistent welds.
What Is The Most Comfortable Welding Position?
The flat position is the most comfortable welding position. It is the easiest position for beginners and does not require welding against gravity.
What Is The Easiest Welding Pattern?
The easiest welding pattern for beginners is the stringer bead technique. It involves dragging the electrode straight across the seam without any additional motion. This technique is simple and commonly used for basic welding.
What Is The Easiest Welding Position For Beginners?
MIG welding is generally the easiest type of welding for a beginner to learn. It involves using a feed wire that runs through the machine at a preselected speed, resulting in fast and consistent welds.
Conclusion
The easiest position to weld is the flat position. This position is commonly referred to as the down-hand position and is the most beginner-friendly. Welding in the flat position does not require the welder to work against gravity, making it easier to maneuver the electrode and produce consistent welds.
For those starting in welding, mastering the flat position is a great way to build foundational skills. So, if you’re new to welding, give the flat position a try and build your confidence in this easier welding position.